How to use Laravel Breeze
Breeze provides a minimal and simple starting point for building a Laravel application with authentication. Styled with Tailwind, Breeze publishes authentication controllers and views to your application that can be easily customized based on your own application's needs.
Laravel Breeze is powered by Blade and Tailwind. If you're looking for a more robust Laravel starter kit that includes two factor authentication, Livewire / Inertia support, and more, check out Laravel Jetstream.
install Laravel Breeze
To install the Laravel Breeze package, run the command below.
composer require laravel/breeze
After installing the breeze package, now run these command given below.
php artisan breeze:install
This command will generate all authentication-related views, controllers, request file, route file.
Install node dependecy
npm install && npm run dev
We are done! Our installation is finished. Now we can register a new user and login to our Laravel application.
Registration page
dev.blog.com/register
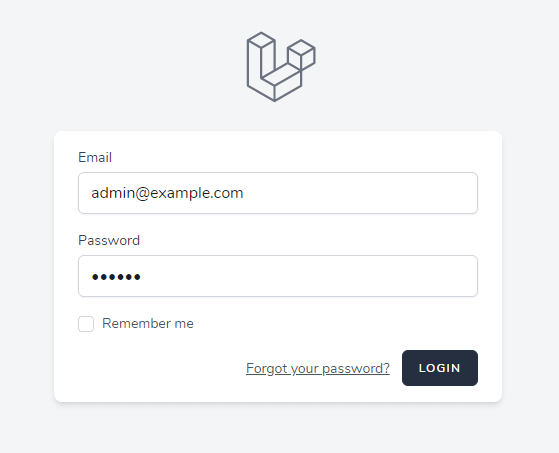
Login page
dev.blog.com/login

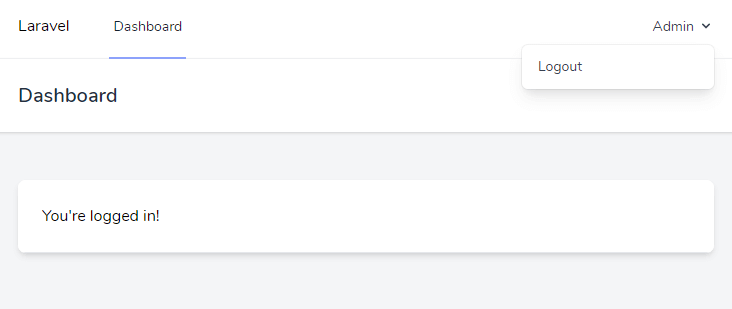
After successful login, you will redirect to dashboard route with simple and clean dashboard UI (designed with Tailwind CSS).
Dashboard page
dev.blog.com/dashboard

Note: A file routes/auth.php will create in your routes directory with all authentication-related routes. You can simply disable routes which are not necessary for your project.